Learn How To Make Weather Proof Bean Bags For Thousands Of Street Tricks.
-this is a free tutorial on utility busking props.
I have had a lot of subscribers request that I teach everyone how to make bean bags.
No, really.
So today, we will be learning how to make, Street Bean Bags.
In the future we will be doing many Magic Tutorials incorporating bean bags, and this article can serve as a good reference for them.
If you don’t want to make bean bags.
And you just can’t be bothered.
Fear not, all the the tricks in the future tutorials can be done with traditional props like balls, dice, coins etc.
Lets get started.
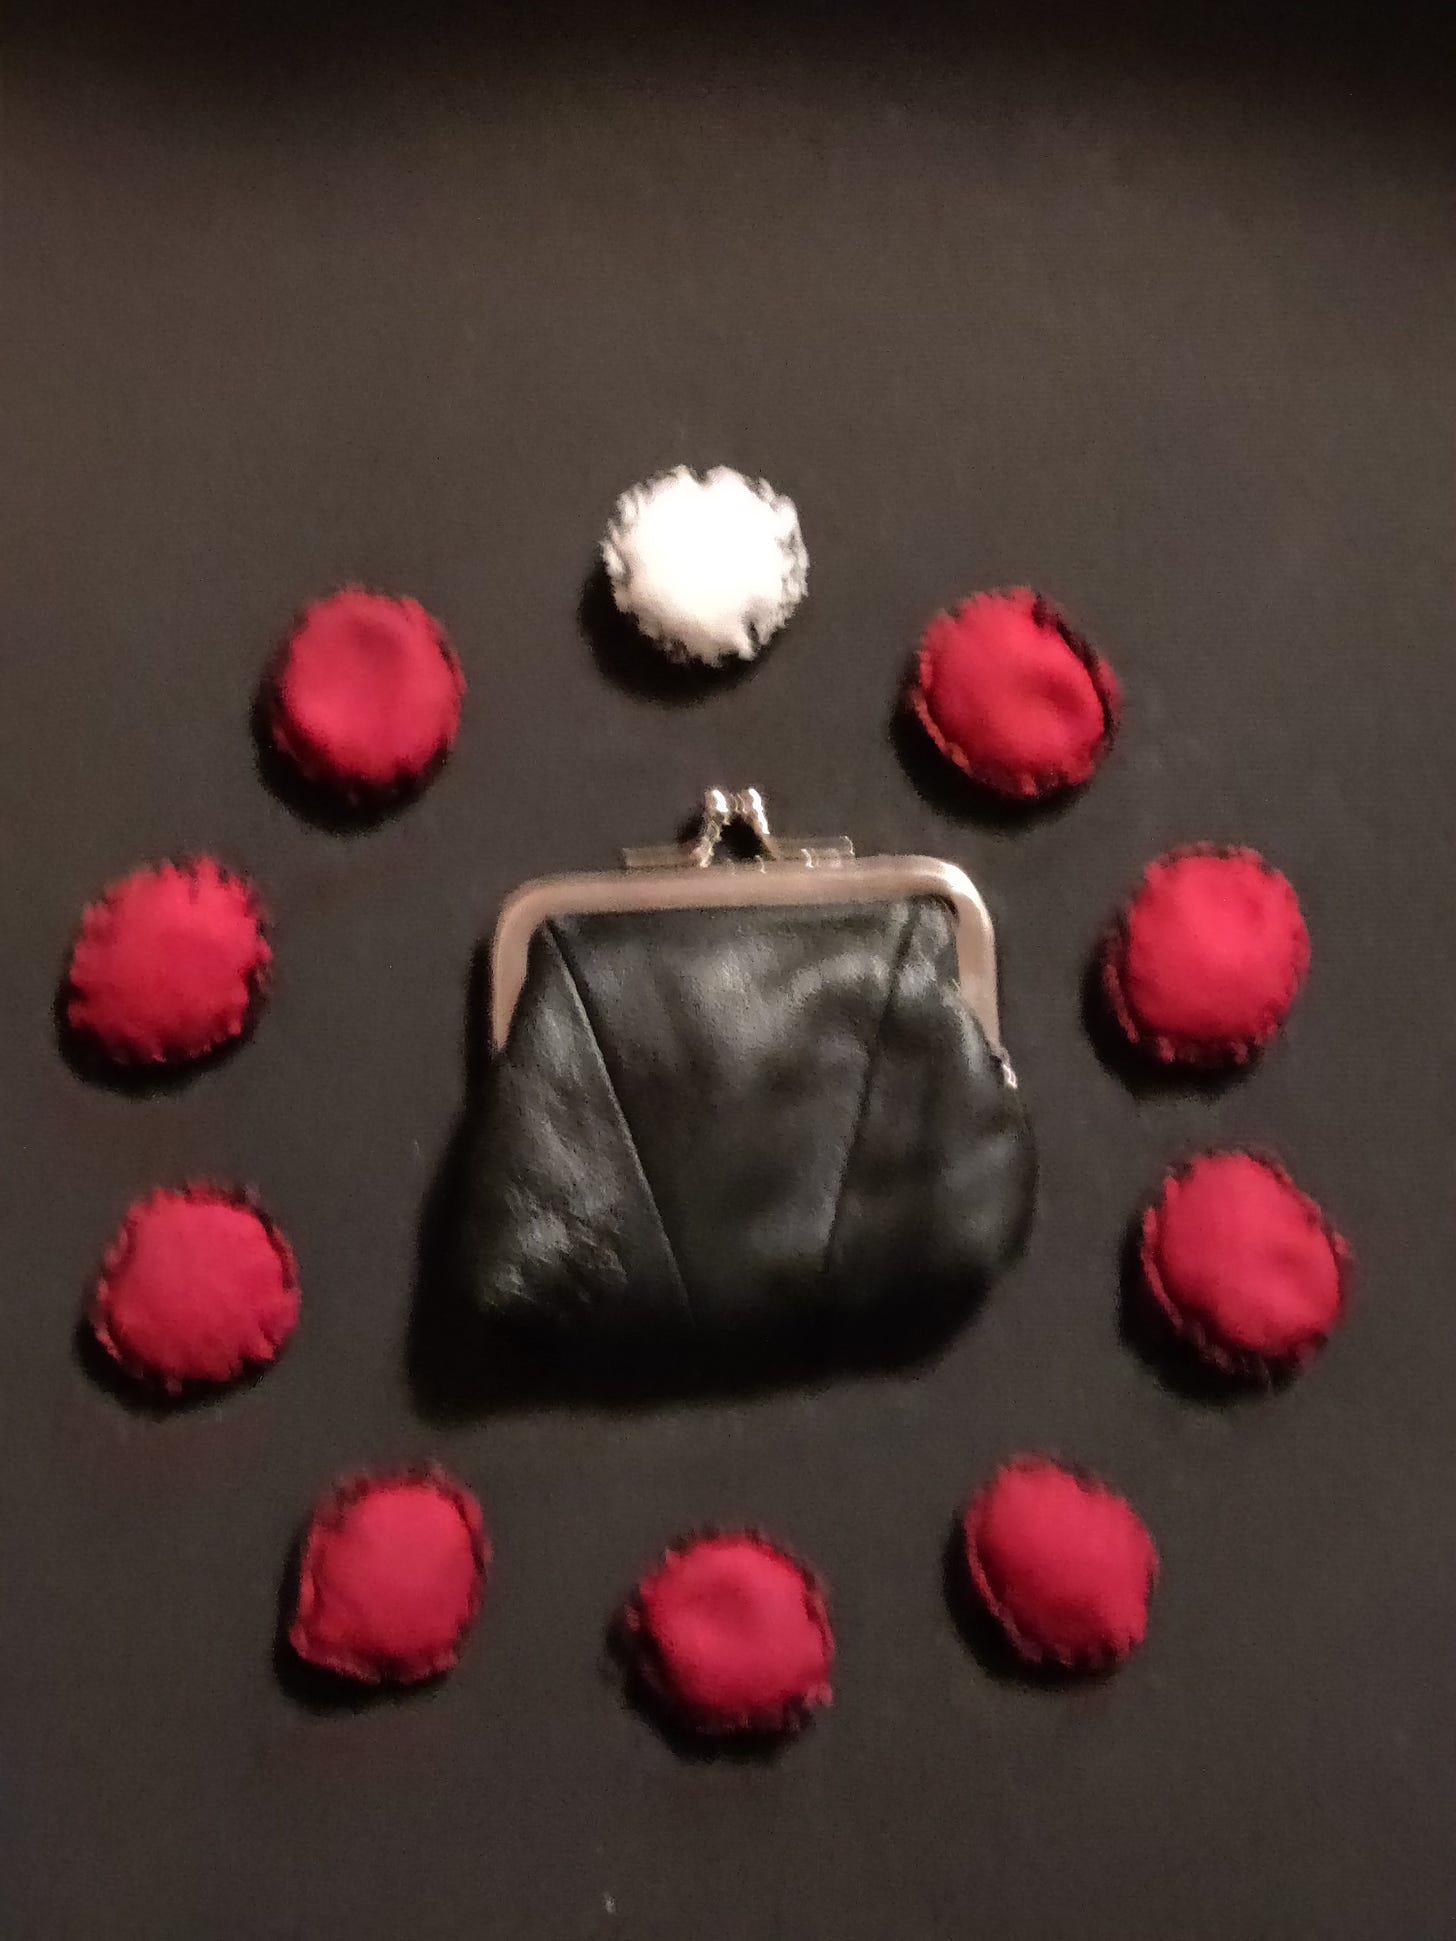
We are going to make Nine Red Bean Bags.
Dark red seems to be the best IMHO.
We’re also going to make a White Bean Bag, for magic color changes.
Another reason we are going to make a white bag, is because with white, it’s a lot easier to understand the construction in the pics.
But it should be noted that white is a bad color for busking.
It gets too dirty.
One last thing before we get started, the main idea to making these bags, is that they should always look identical for magic purposes. If one is dirty or not sewn the same way as the others, it will spoil the trick.
So keep that in mind while making these.
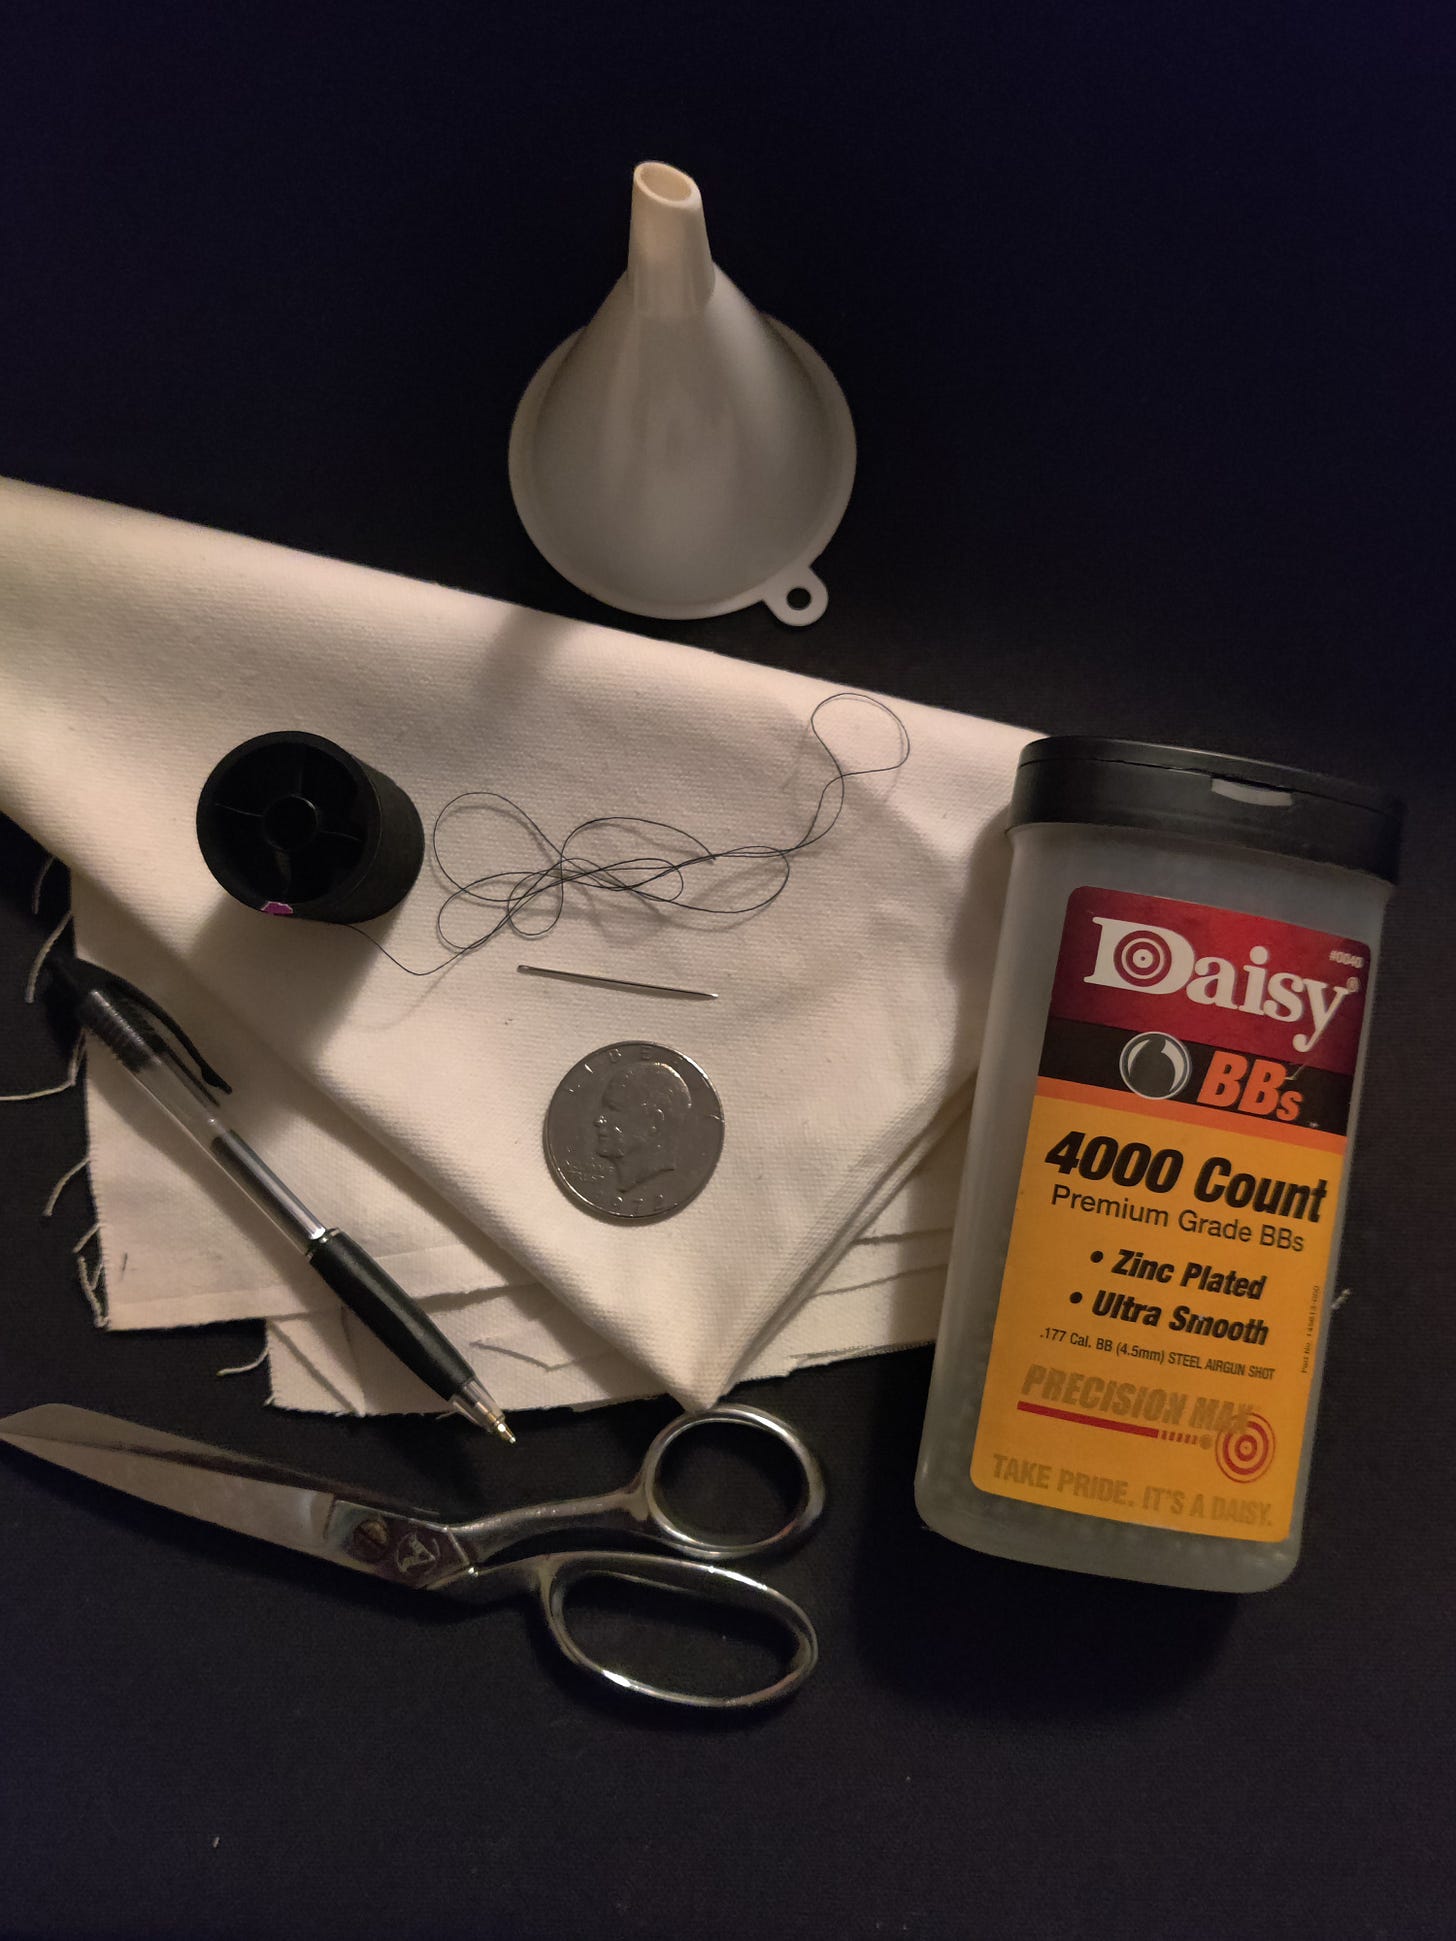
What you will need:
Needle and black thread.
Funnel.
Strong red cloth.
Scissors.
Pen.
Old silver dollar.
And some BBs.
We will begin with the dollar coin.
Now if you don’t have a dollar coin Mr. Magician, shame on you! What are you even doing?
Anyway, if you don’t have one, you can cut out a 1.5” circle out of paper, and just use that instead.
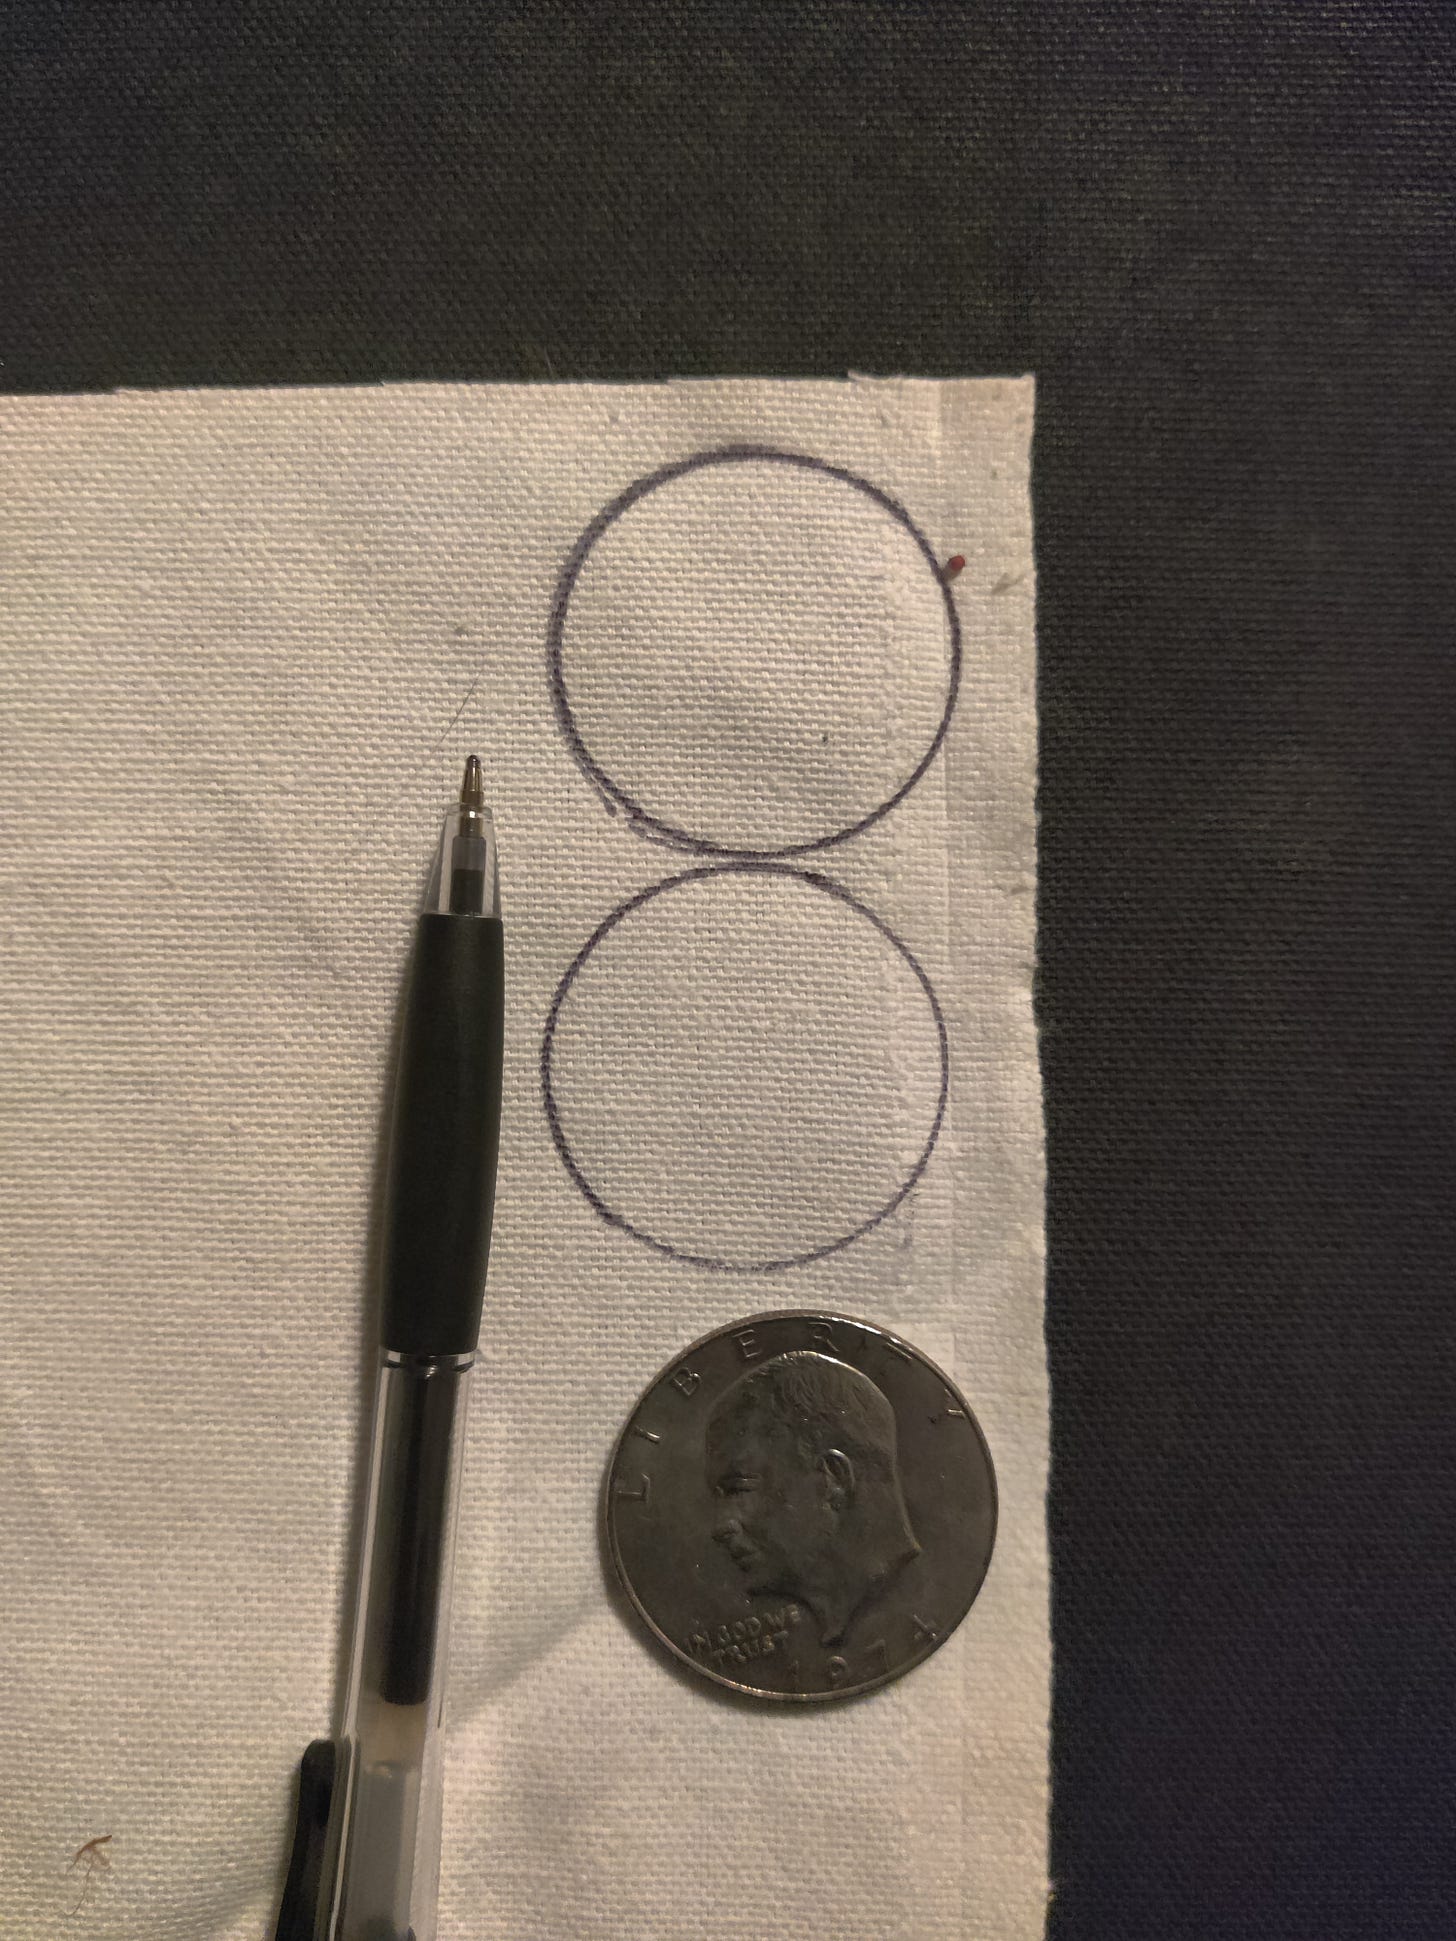
Take the dollar coin and trace two circles close together on your cloth to conserve cloth.
Like this.
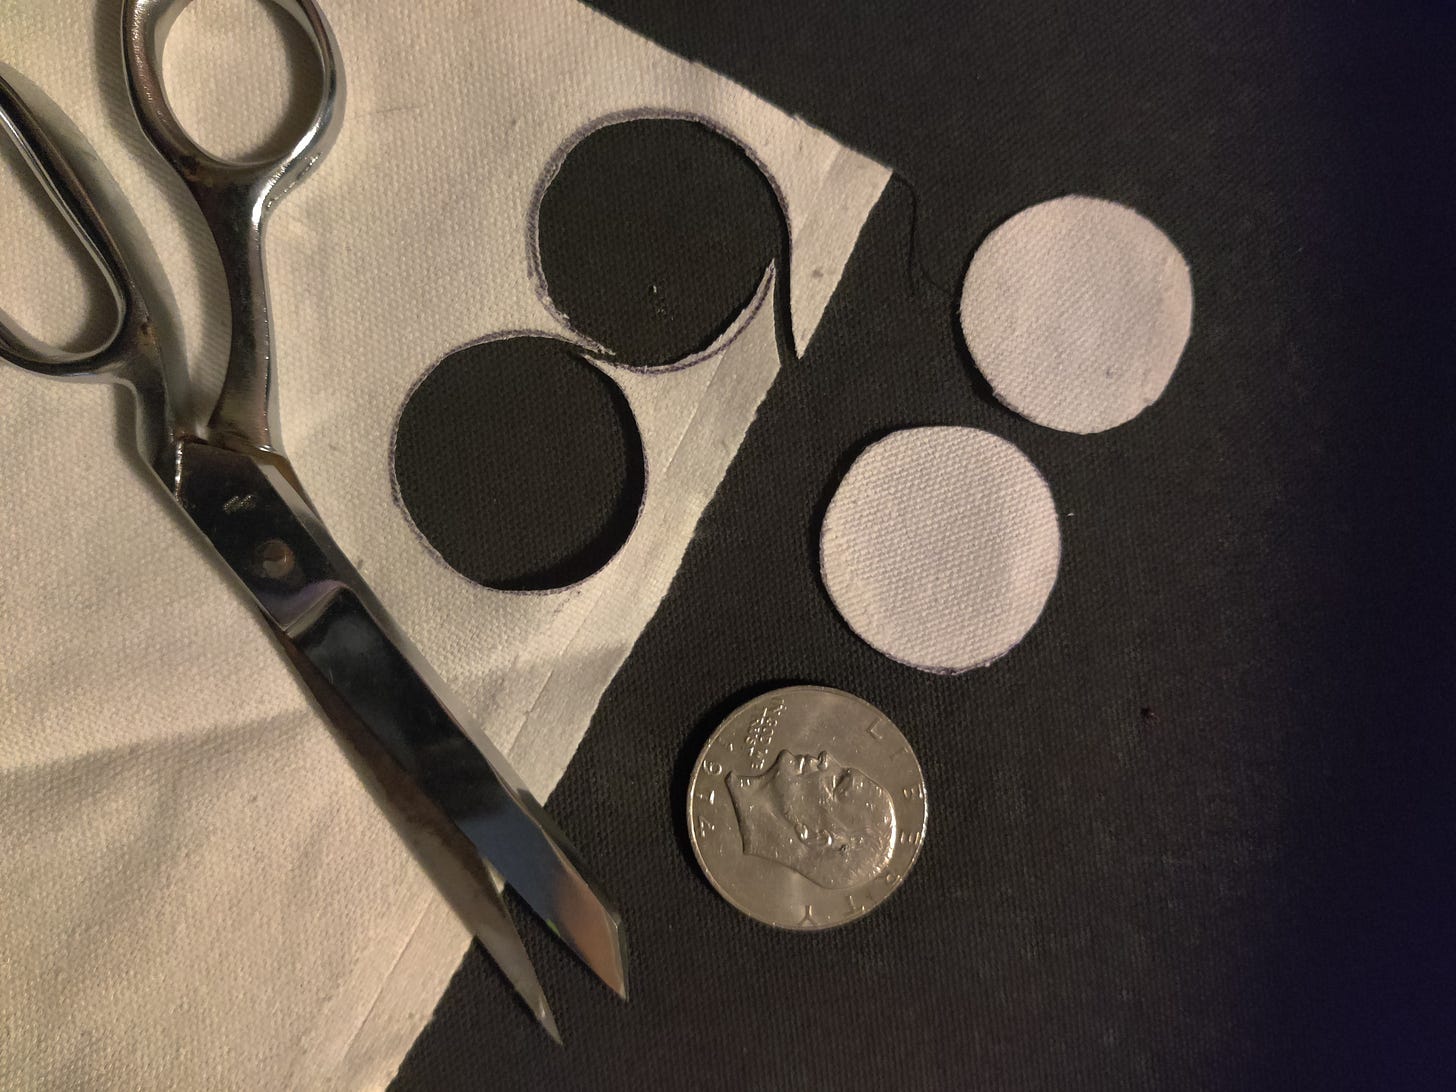
Then cut them out, like this.
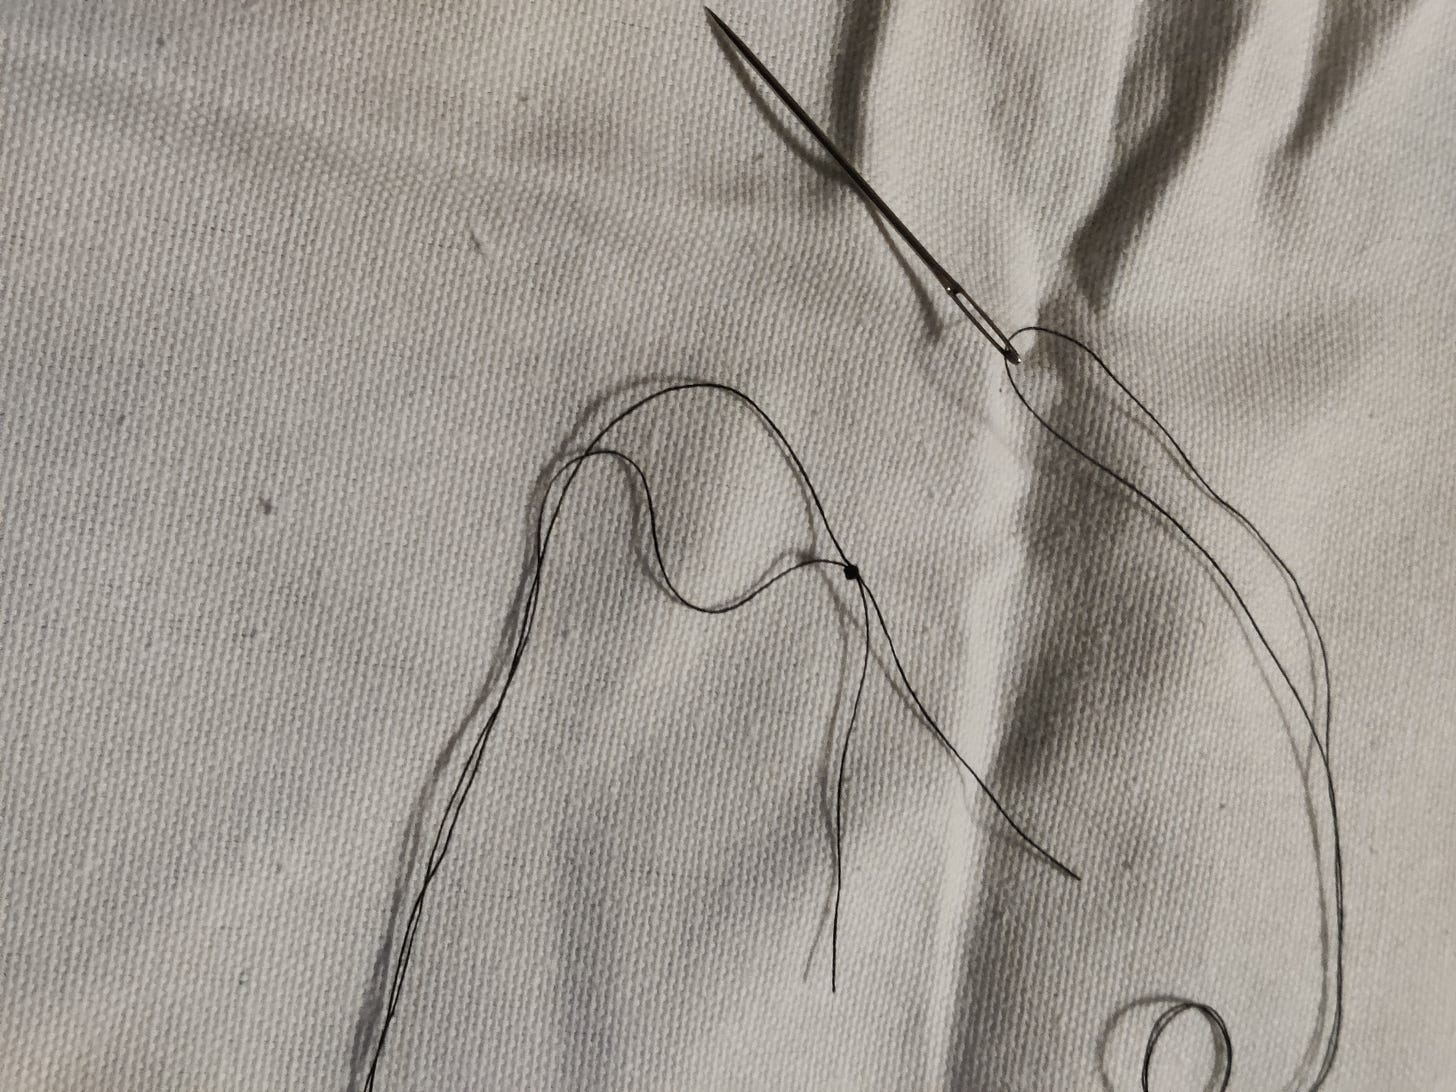
Then thread a needle and tie a triple knot, like this.
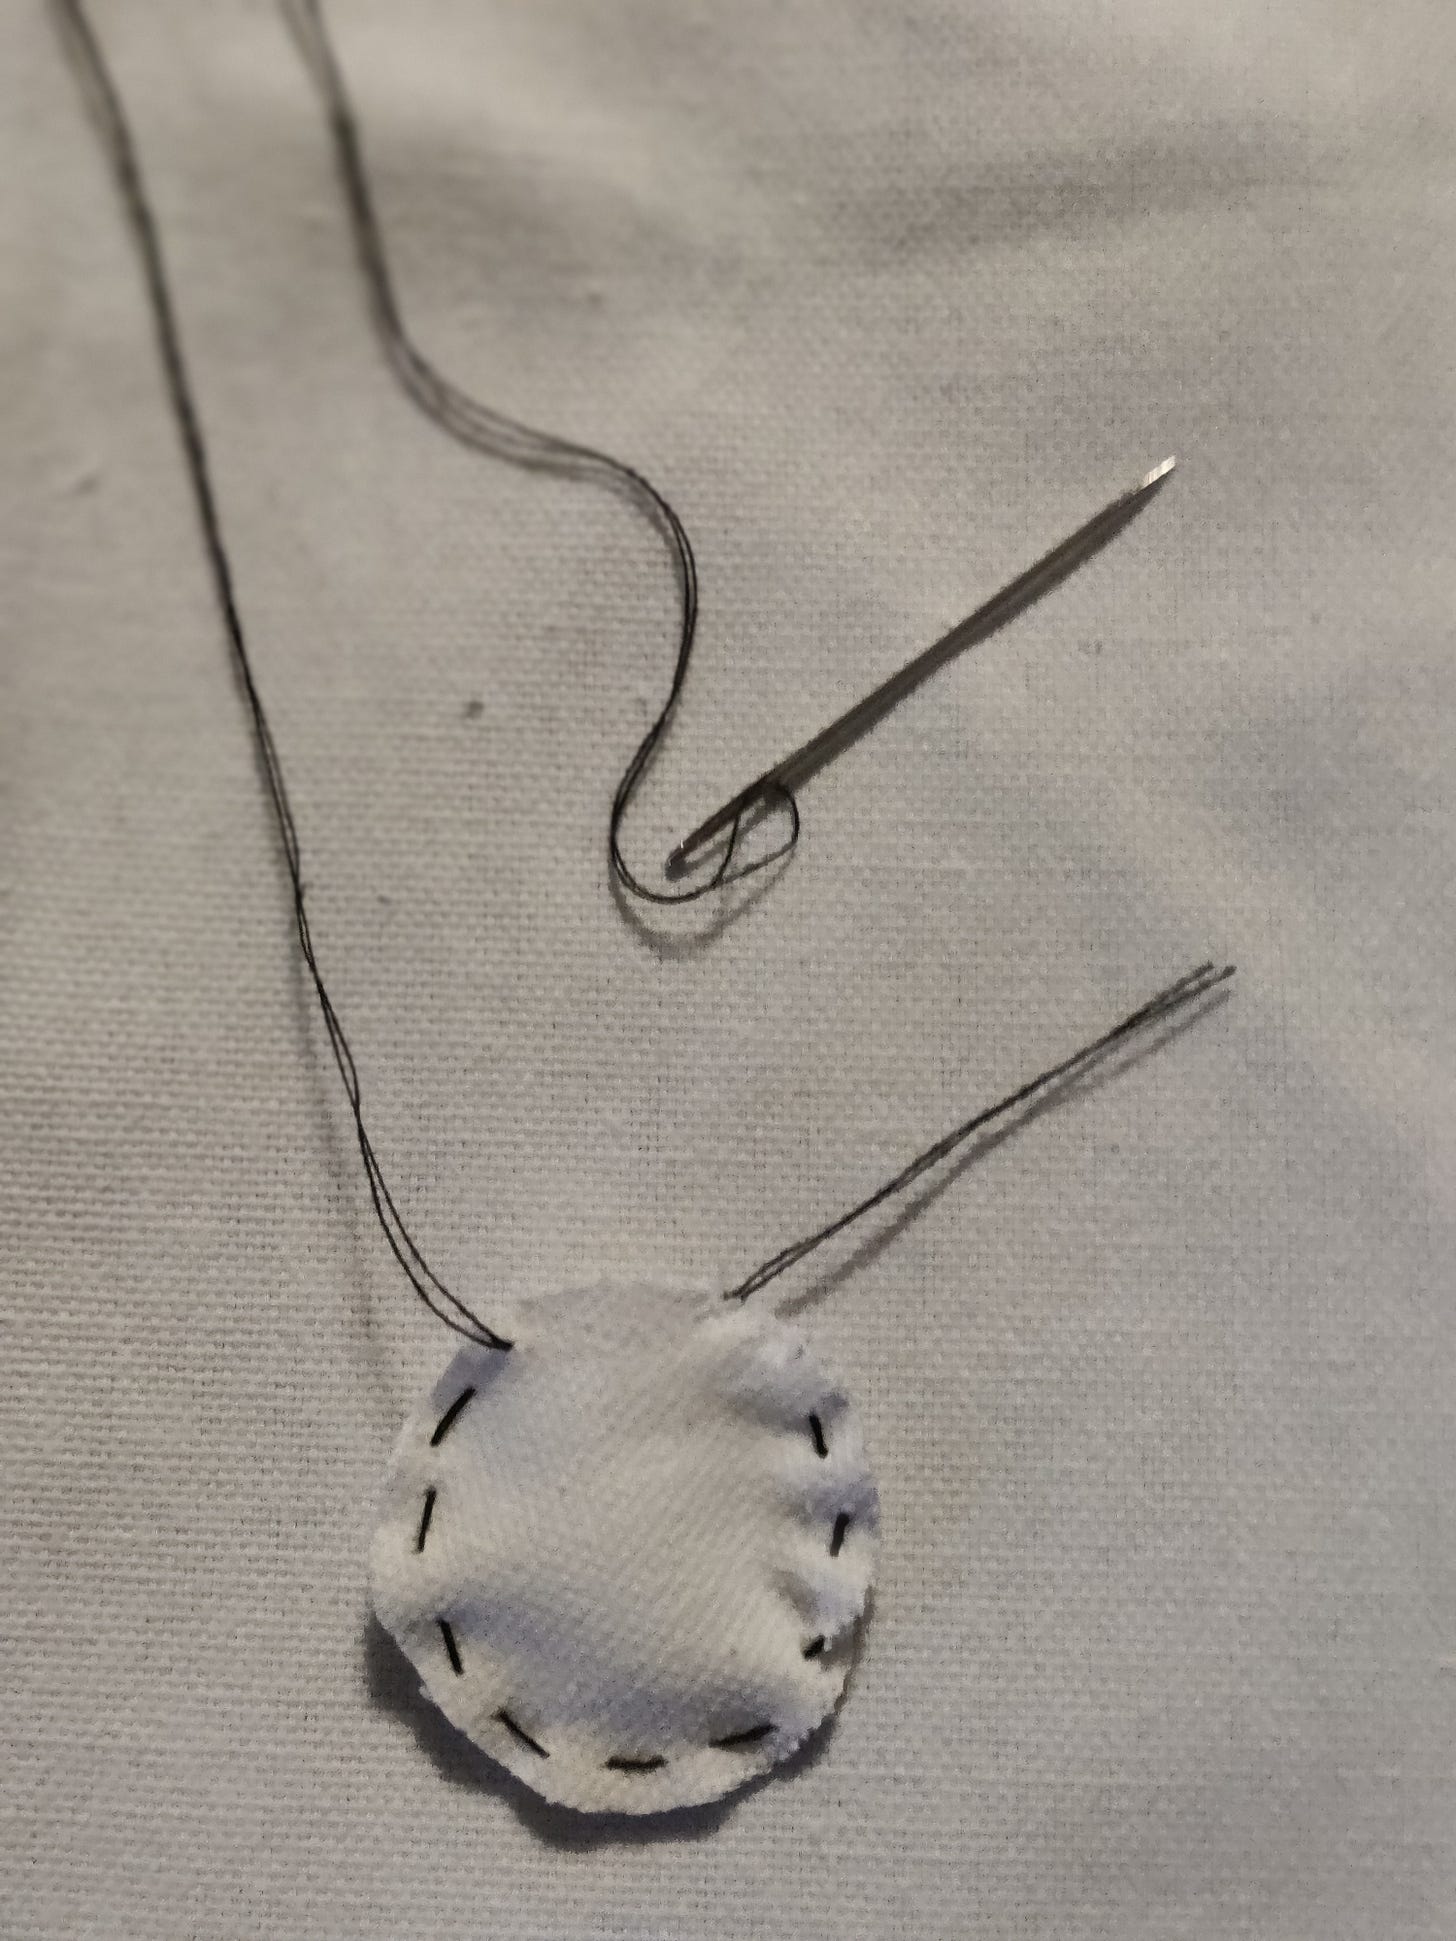
Then put the two circles together and sew them together with a simple dotted line framing the edge of the circle, but stop to leave a gap at the top like this.
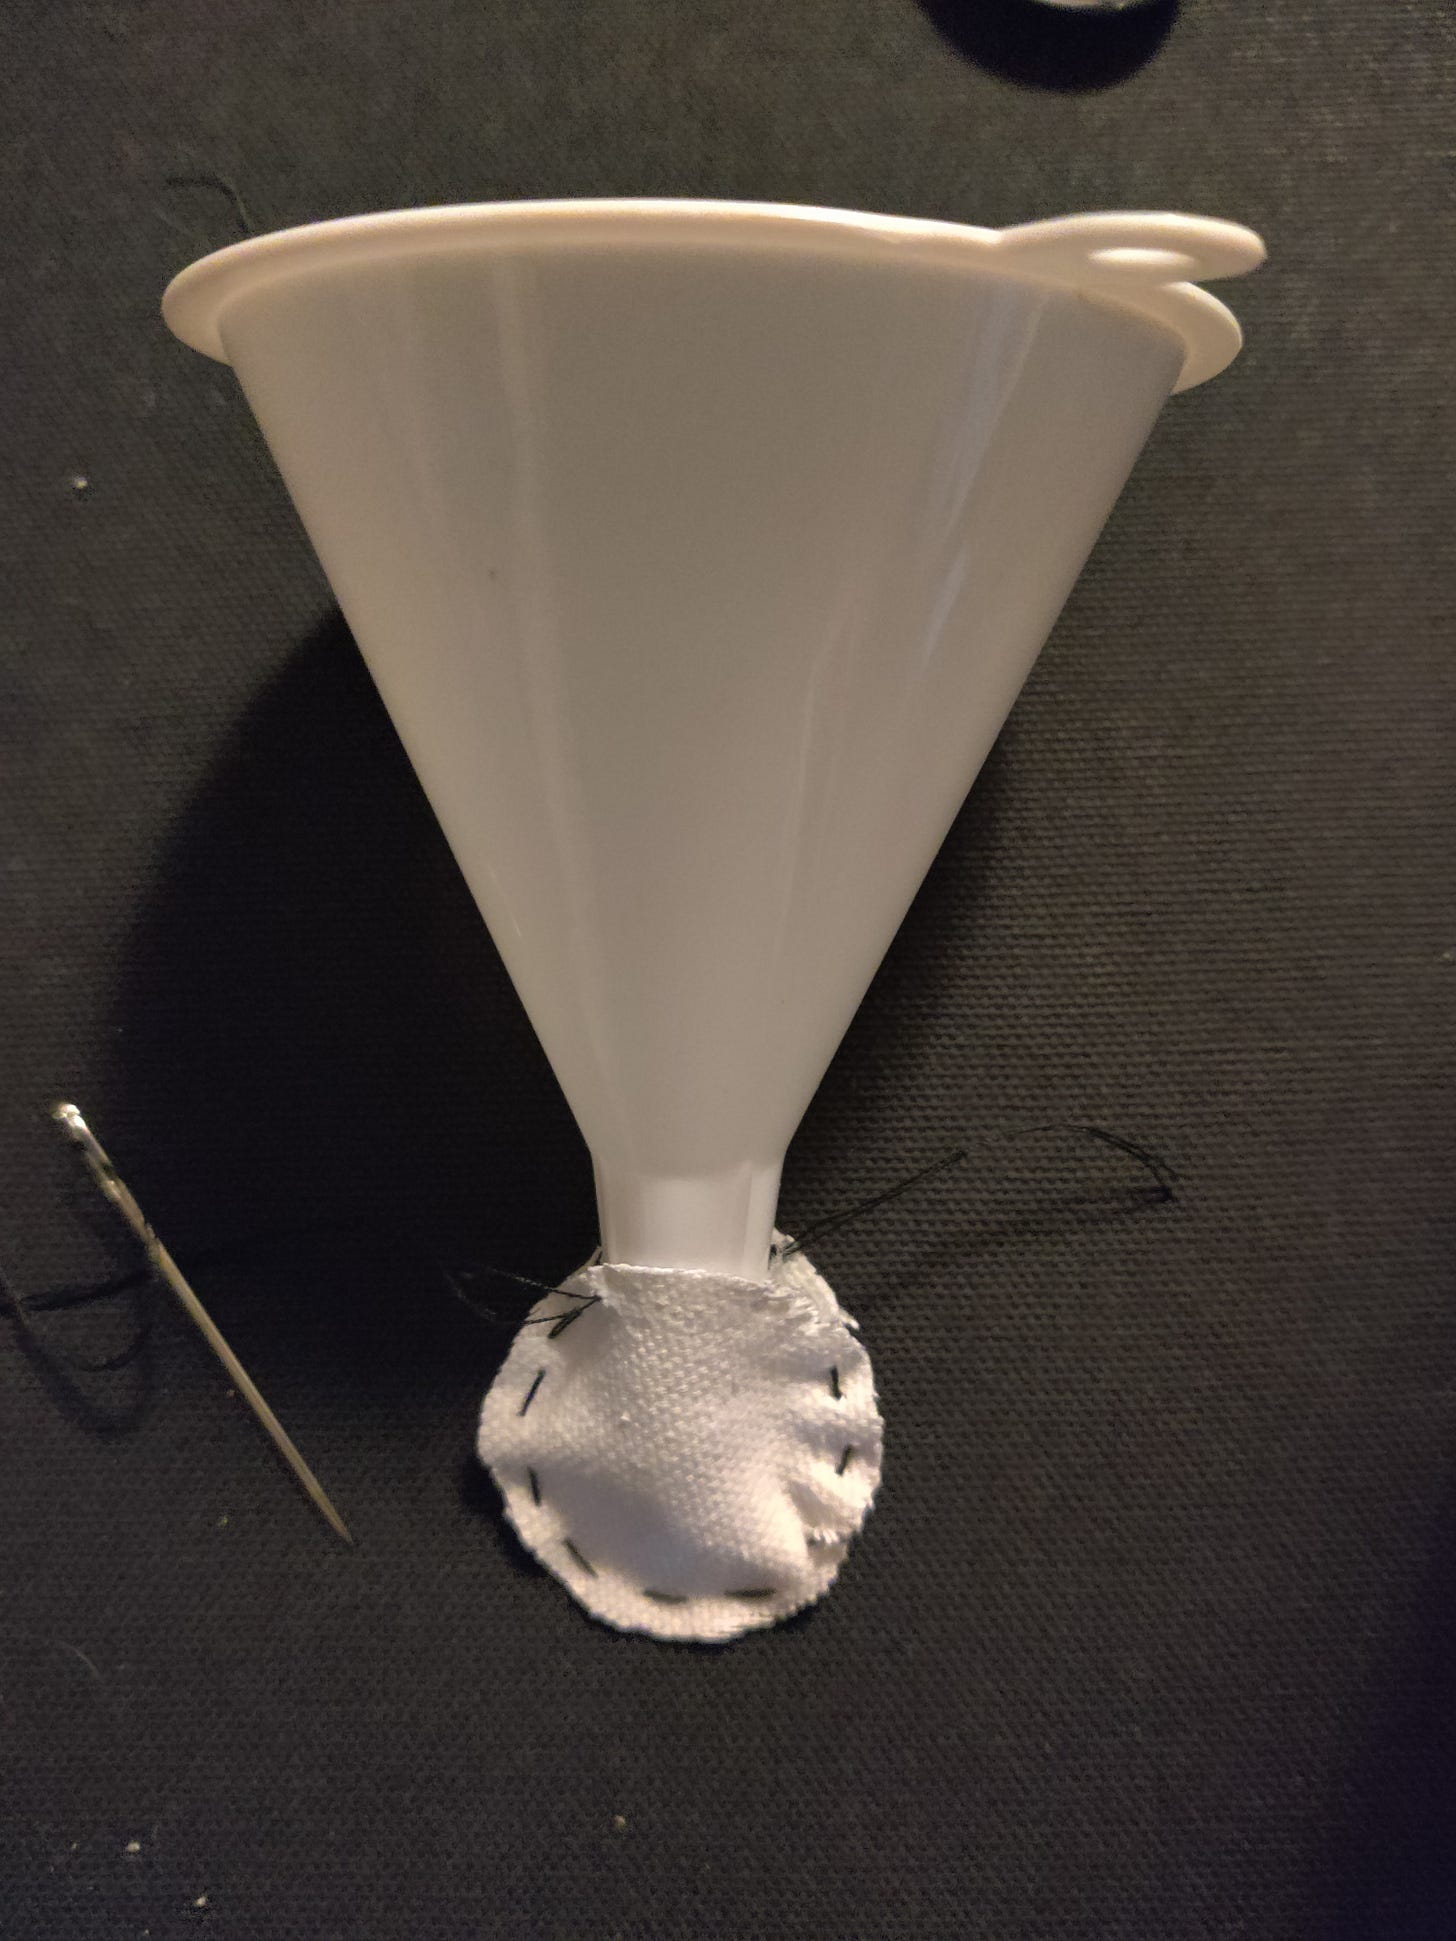
This has made a little bag, insert funnel into the gap at the top and pour the BBs into the bag, but be sure to only fill it half way. Like this.
Only filling it half way is what will give it that dead stop when it’s dropped on the table. If you have filled it half way, it should look like this.
This will also give you plenty of room to sew it up, without spilling all the BBs
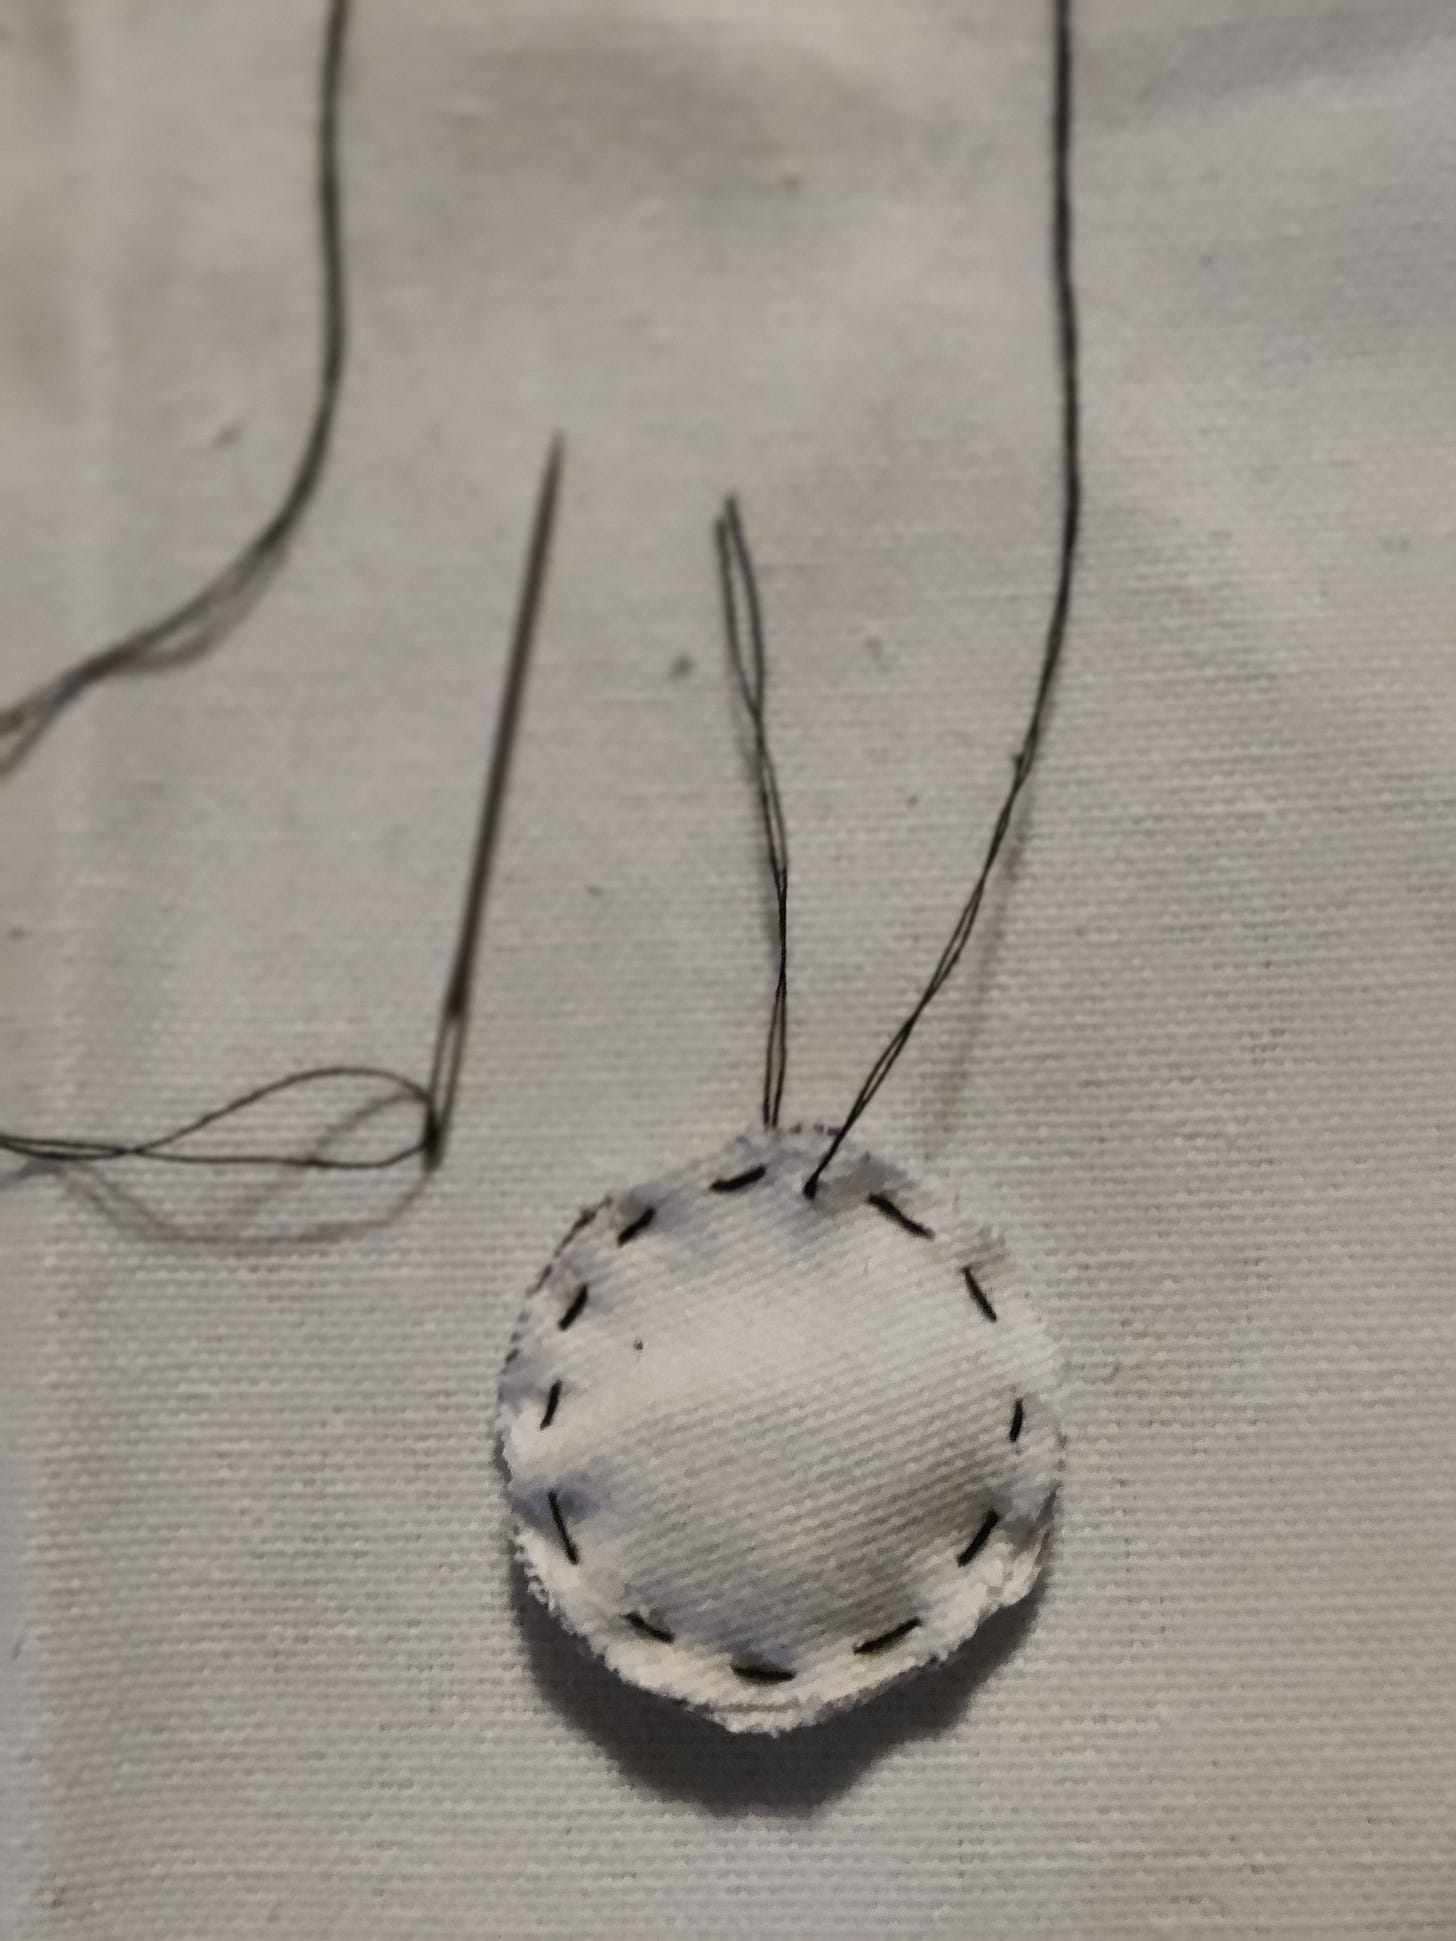
So it looks like this.
After you sew up the gap with all the BBS inside, be sure and cut the tail, like this.
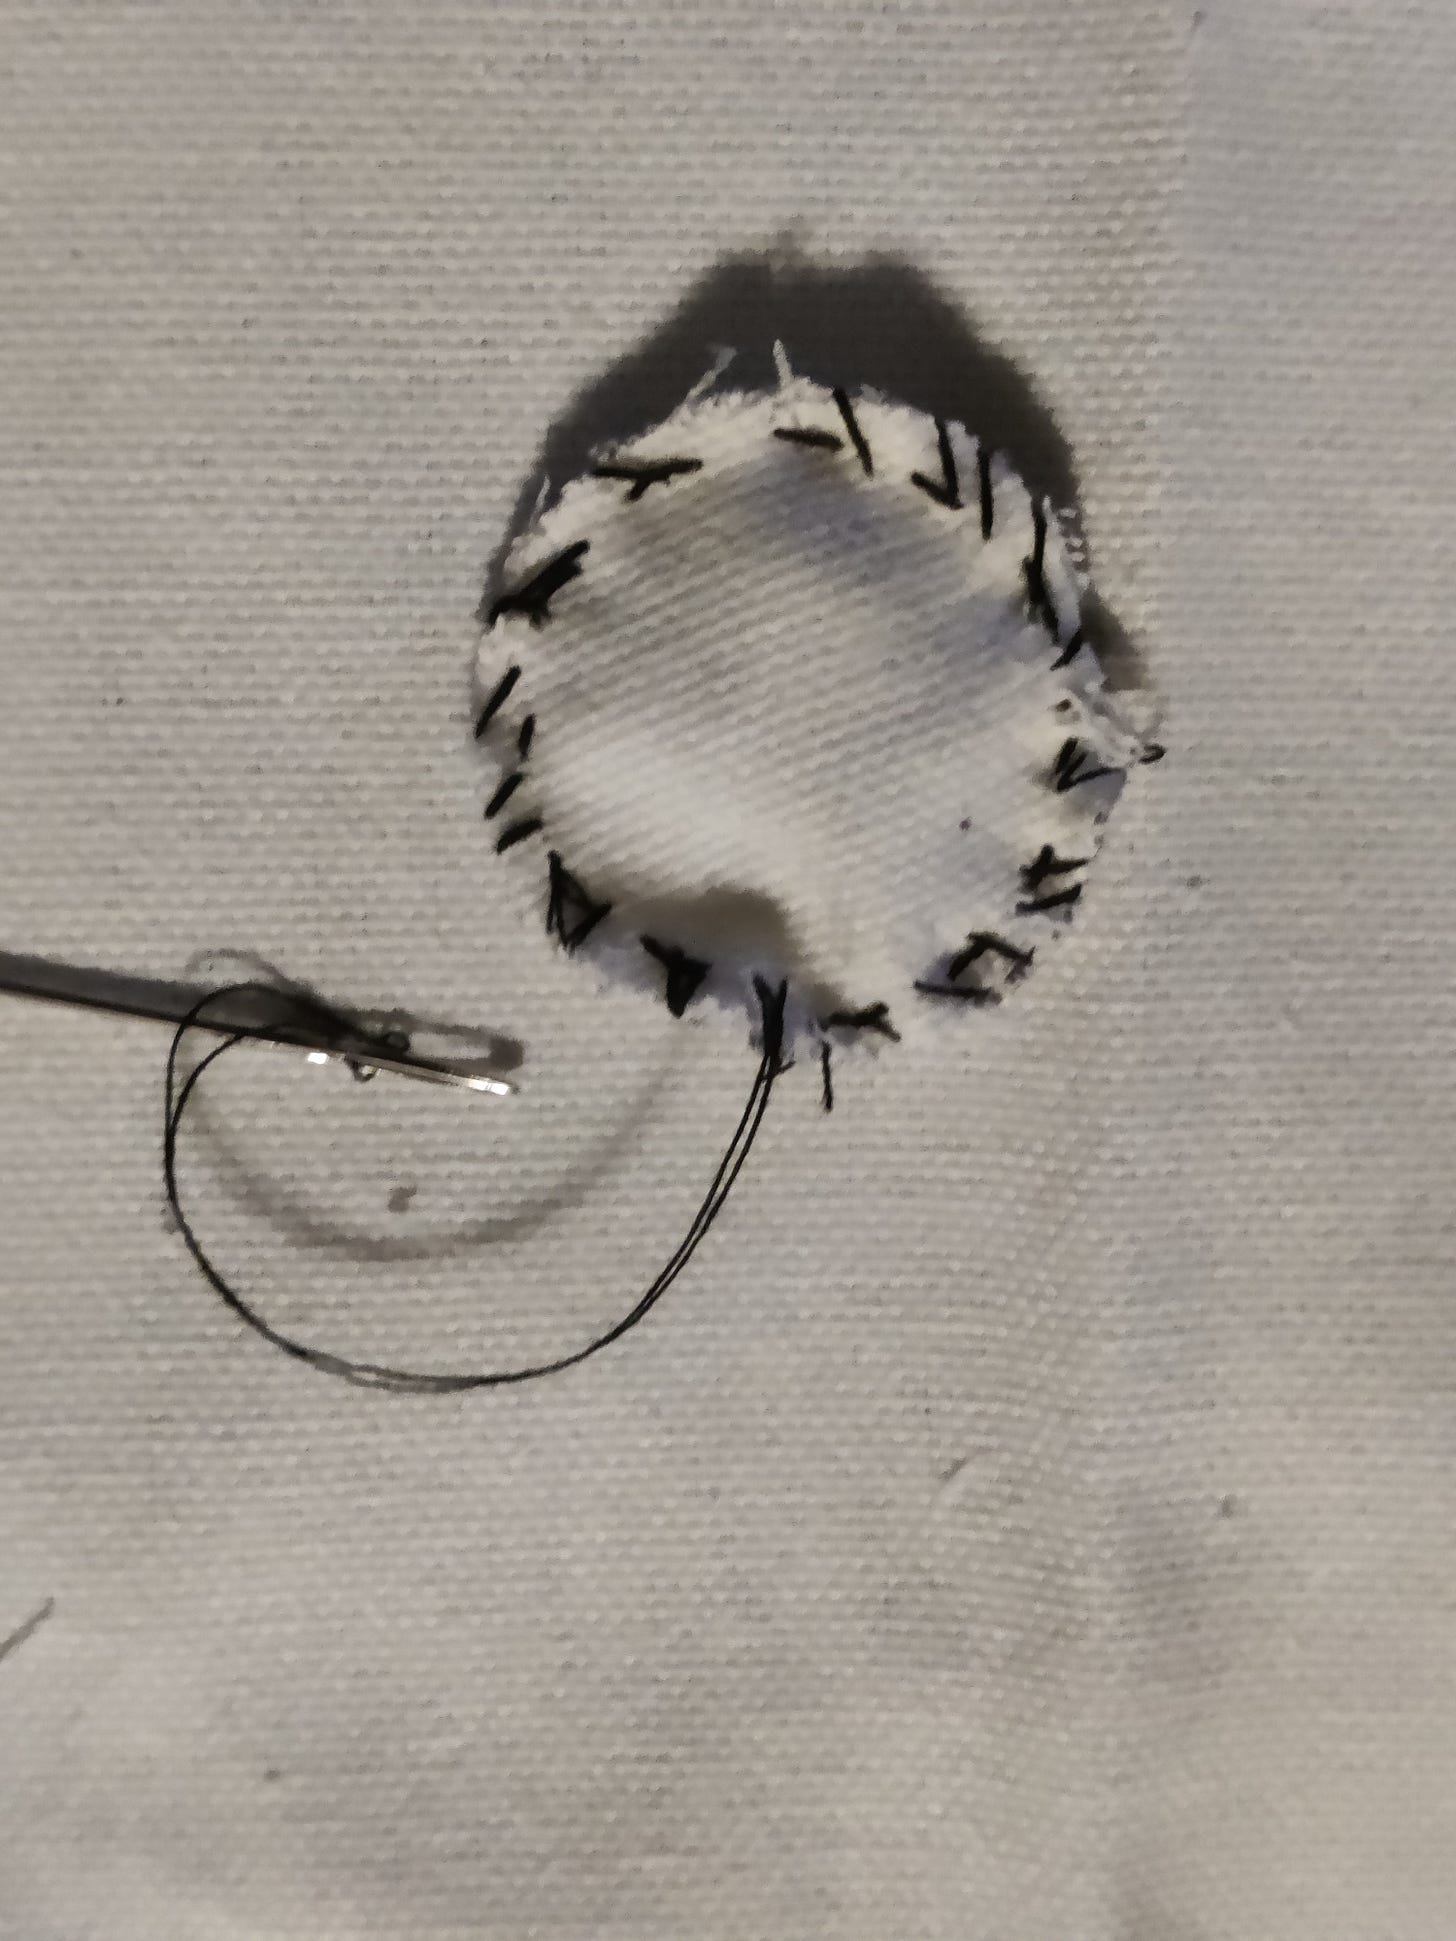
Whip Stitch around the edges, this will strengthen the seal and create a puffiness later, so the bag isn’t so flat.
Make sure you Whip Stitch, that means you’re wrapping around the edges, here’s a side view.
Keep Whip Stitching until you run out of thread. Trim any stray threads.
Crush and roll in hands to find leaks, if you find a leak simply whip stitch the leak away.
Try and get it to look something like this.
Sew nine more in red.
Be sure that you cut and sew them to look identical.
Sometimes when sewing, the stitch patterns won’t look the same. To fix this, simply whip stitch until they do.
Also crushing and rolling them in your hands will help make them look the same.
I would Strongly urge you to buy a purse like the one shown below.
It’s a great way to carry your new bags and it will give you several ways to use your new bags deceptively in tricks.
But we’ll talk more about that in future tutorials
Also, be sure to experiment with different cloths, colors, and sizes, to better suit your character and what type of tricks you may want to create.
Well I hope this helps you down the road to Street Bean Bag Magic
If you’re into bean bags and other little know magic props used on the street I wrote a special article on the subject called A Little Bit About Bean Bags and Chew Toys.
And we have a whole section here at this site on Magic Theory and equipment.
If you got a kick out of this article, you can leave me a tip HERE.
Your Pal Jimmy.






Love this idea!!!